Looking for the best way to clean my motorcycle at home? Whether I ride a Harley or a commuter bike, regular detailing keeps my machine running smoothly and looking brand new. In this easy 10-step motorcycle cleaning guide, I’ll cover everything from foam washing and tyre scrubbing to polishing chrome parts — all inspired by a popular YouTube video that shows how professionals do it.
Let’s get started and turn my dusty two-wheeler into a showroom-worthy beauty.
Step 1: Wash the Bike with a Pressure Washer

The first step in any great motorcycle wash is removing surface dust and grime. I use a pressure washer on a moderate setting to rinse away mud, dirt, and debris. I begin from the top and work my way down — this ensures gravity helps lift away loose particles without scratching my paint. This pre-rinse prepares my bike for a deeper, safer clean.
Step 2: Apply Foam Shampoo Using the Pressure Washer
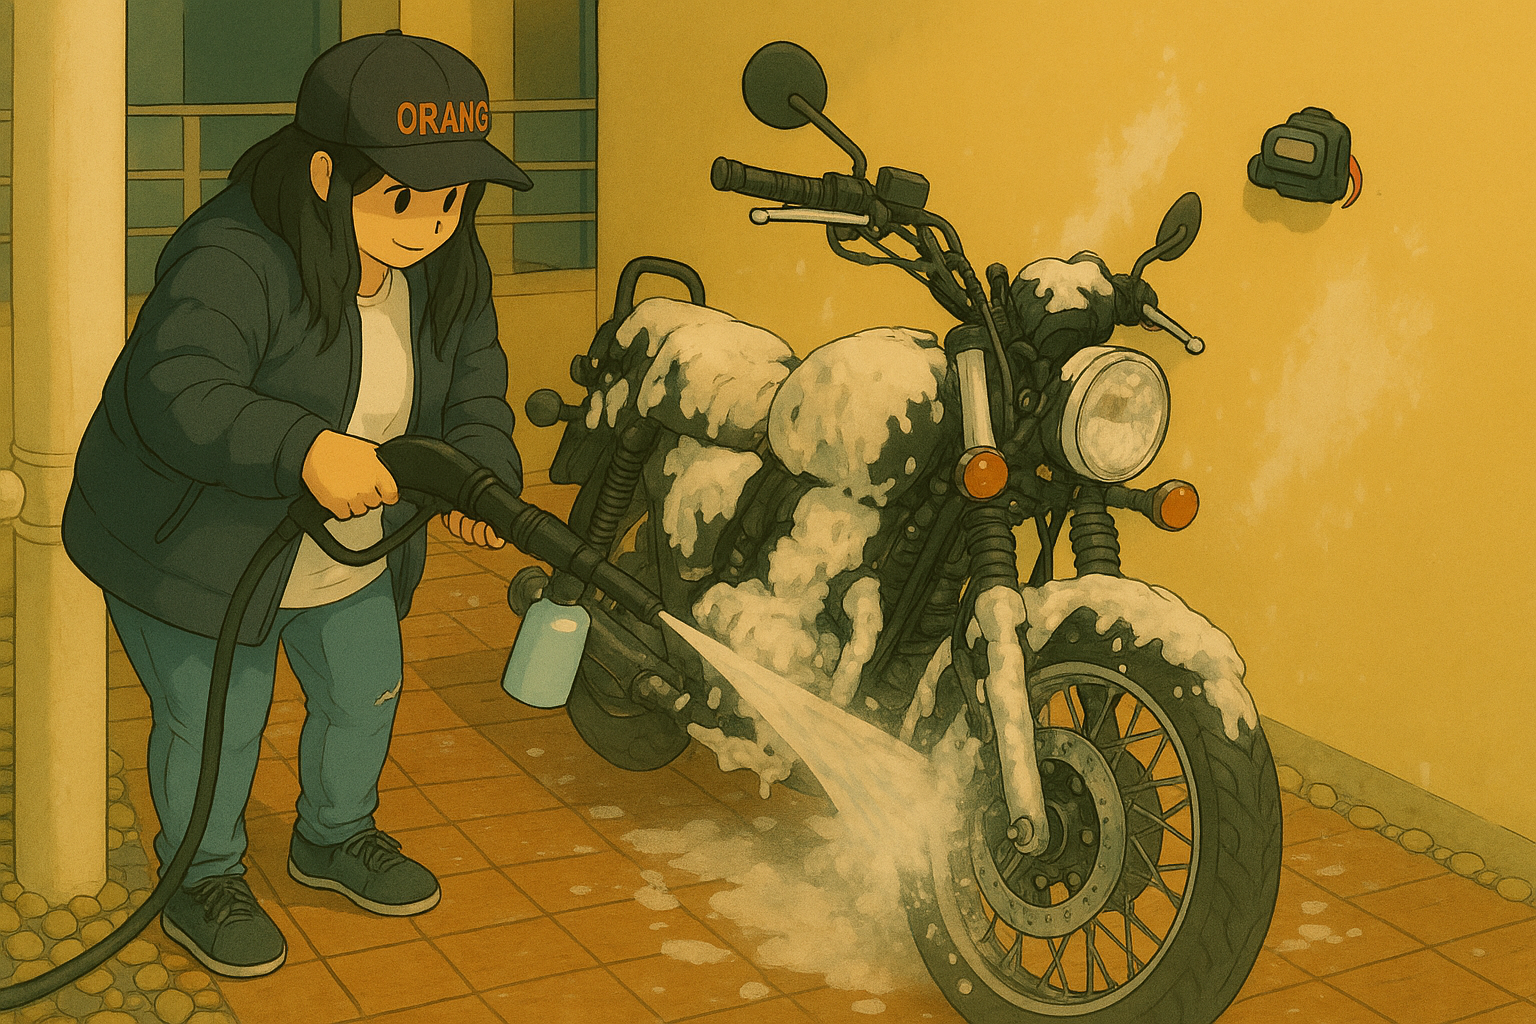
Once the initial dirt is gone, it’s time for a foam wash. I fill my washer’s foam cannon with motorcycle shampoo and spray a generous layer of foam over the entire bike. The thick lather helps break down grease, oil, and dust while protecting my paint surface. Watching that foamy coat cling to my motorcycle is not only satisfying — it’s effective cleaning in action.
Step 3: Hand Wash to Reach Every Corner
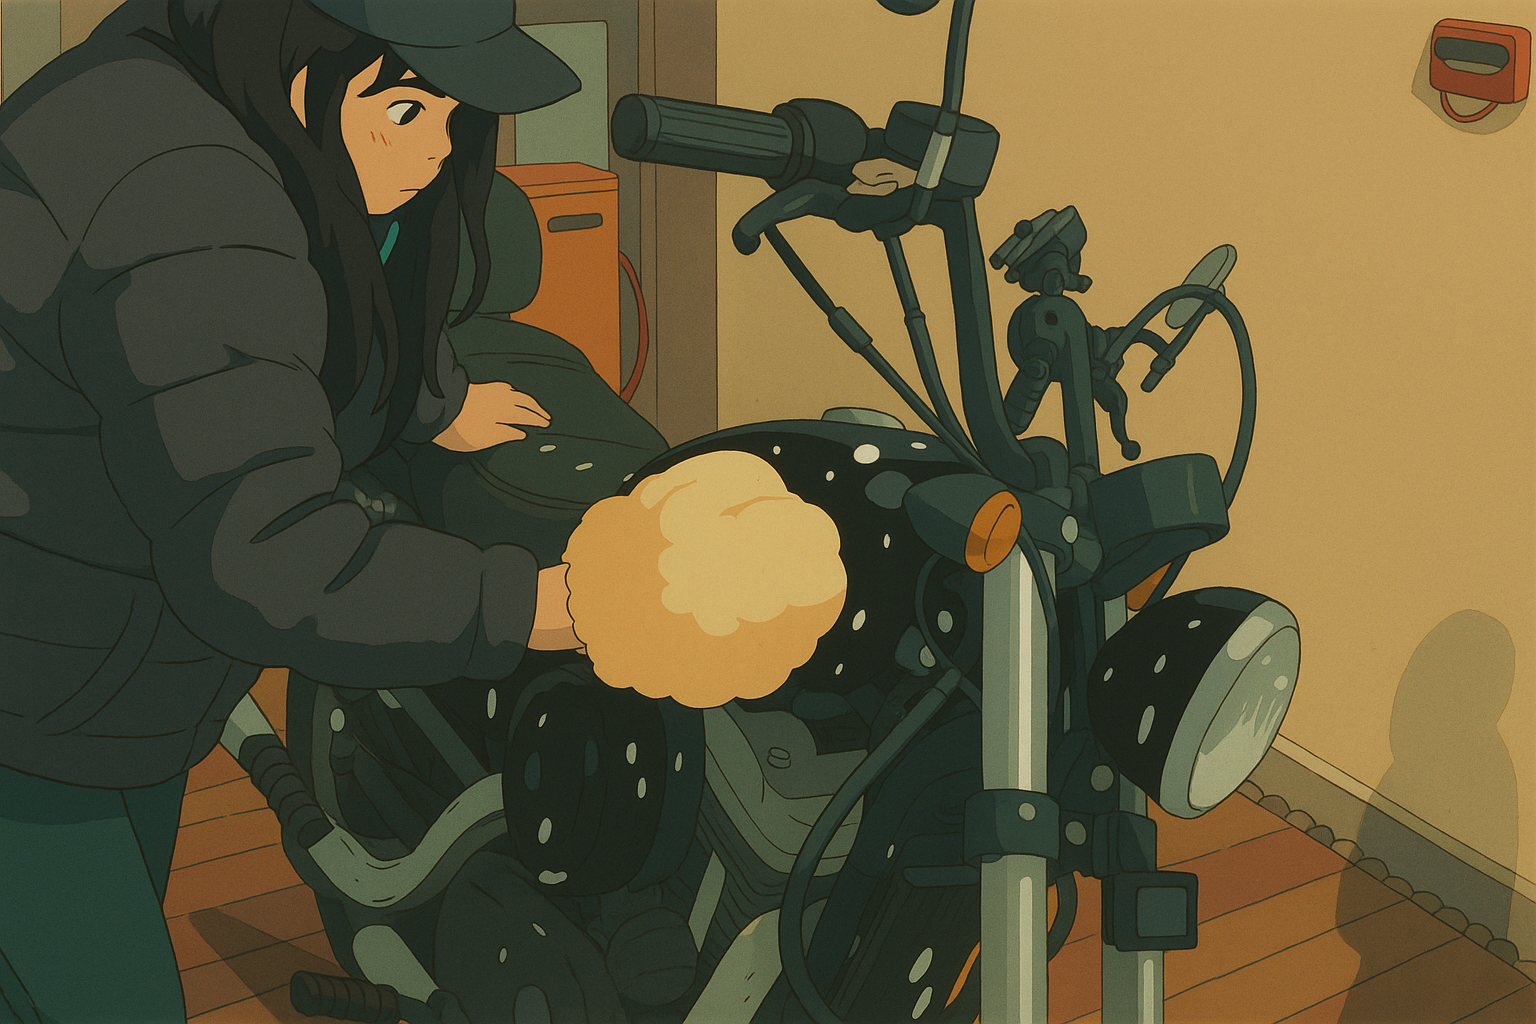
Even the best pressure washers can’t reach every spot. I use a microfiber mitt or soft sponge to apply shampoo manually in tight areas — under the seat, near the chain, behind the forks, and around engine parts. Hand washing ensures every hidden surface gets attention and lets me inspect the bike closely for scratches, leaks, or build-up.
Step 4: Rinse the Shampoo Thoroughly

Once the foam has loosened the grime, I rinse the entire bike again with clean water. I use my pressure washer at a safe distance to avoid damaging decals or seals. I move methodically from top to bottom, ensuring no shampoo residue is left behind — because leftover soap can dull my bike’s finish once it dries.
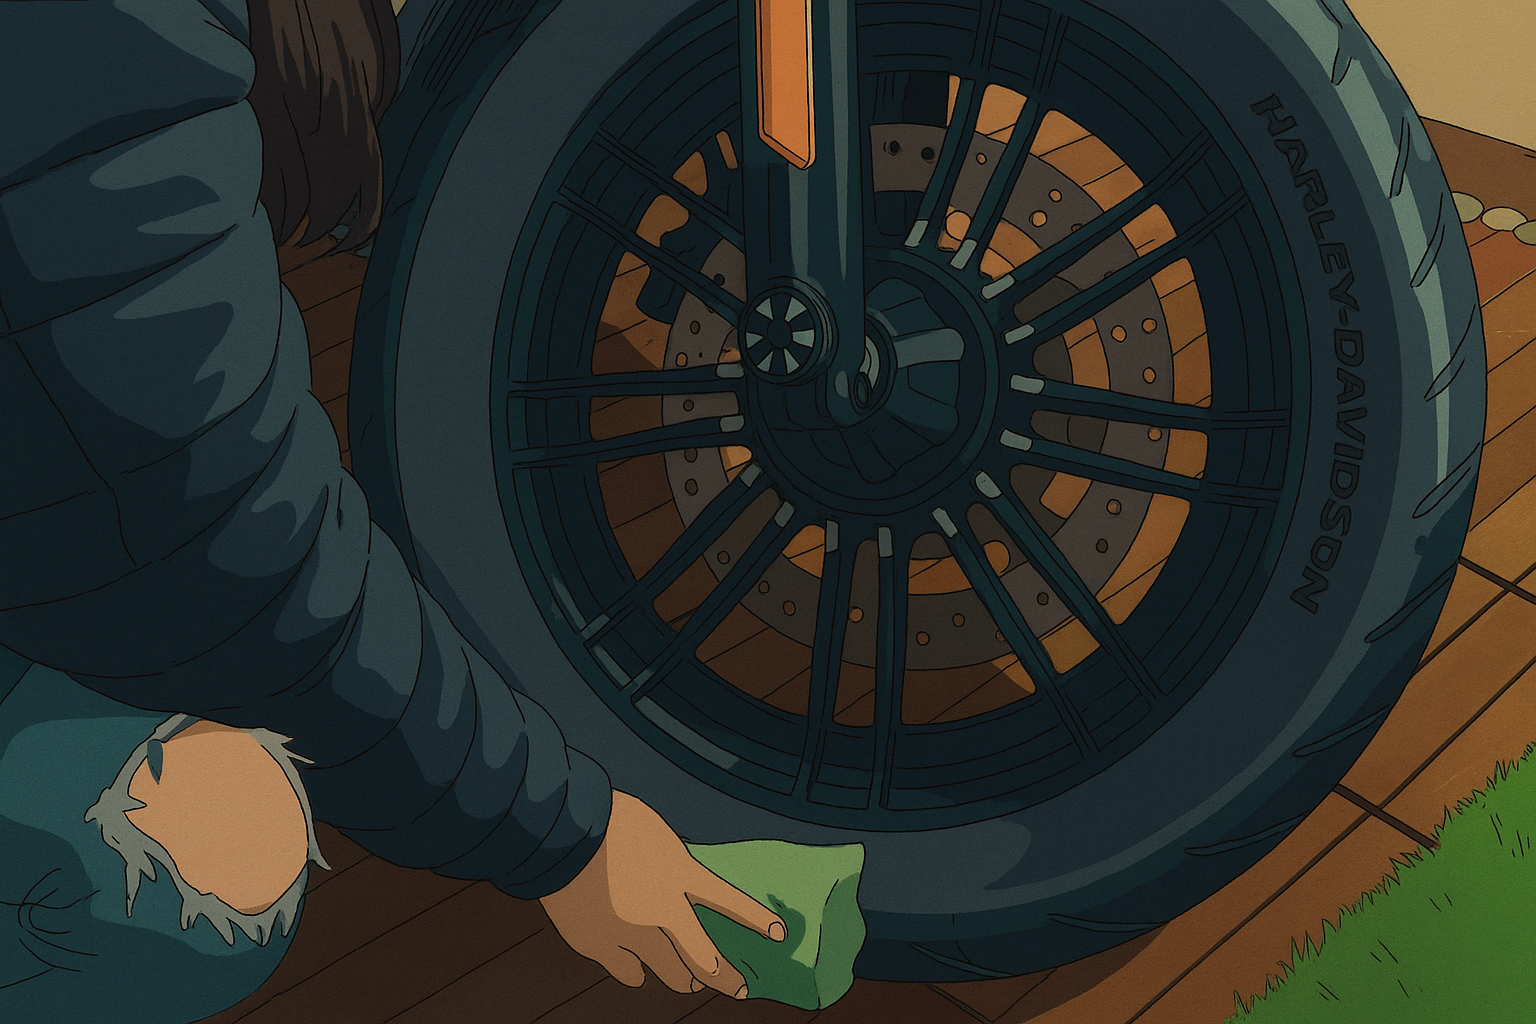
Step 5: Clean the Tyres with a Brush

My tyres and rims face the most road abuse, so I give them some love. I use a tyre brush and a dedicated cleaner to scrub away grease, dirt, and brake dust. I work the bristles into grooves and sidewalls for a complete clean. Polished rims and spotless tyres instantly make the rest of my motorcycle look more refined.
Step 6: Clean the Engine with a Toothbrush

Here’s where precision comes in. A toothbrush is perfect for removing dirt from hard-to-reach engine parts, bolts, and cooling fins. I gently scrub around the edges and tight corners to dislodge trapped grime. Just remember — this toothbrush now belongs to my motorcycle only, not my morning routine!
Step 7: Dry the Bike Using a Blower
Water spots can ruin my hard work. I use an air blower or bike dryer to push moisture out of tight spaces and off the paint. This method prevents rust, streaks, and water stains — giving my bike a spotless, streak-free shine in minutes.
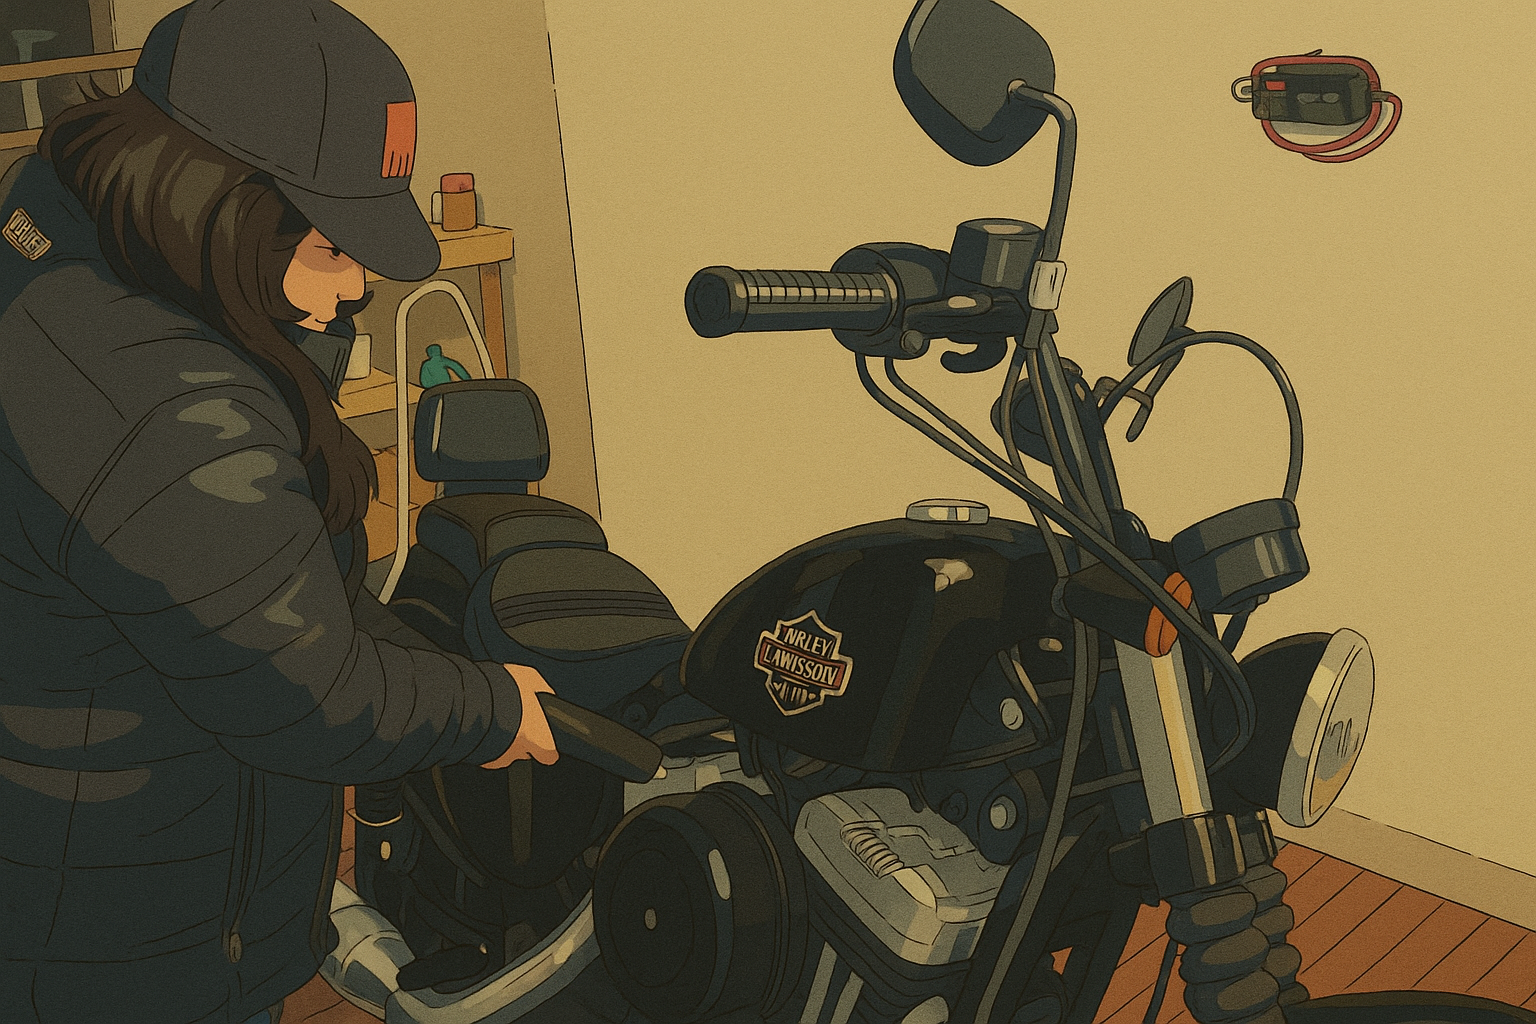
Step 8: Use Harley Davidson Detailer for a Glossy Finish
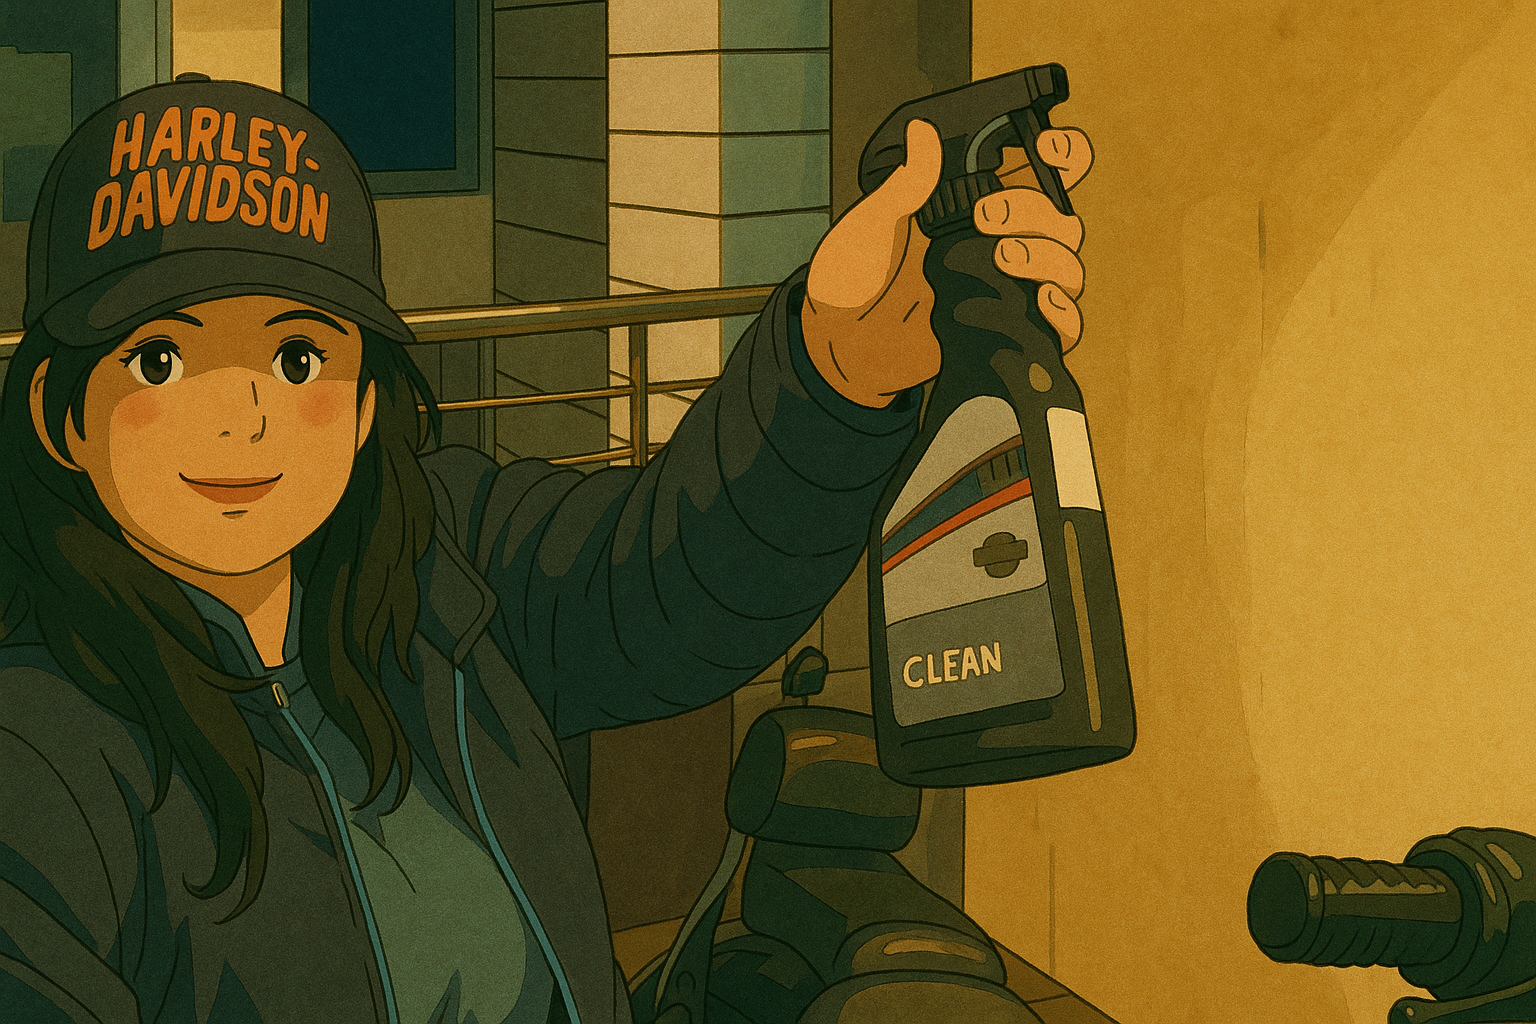
Now comes the magic touch. I apply Harley Davidson Detailer or a similar quick-detailing spray to my motorcycle’s painted surfaces. It revives the color, adds gloss, and creates a protective layer against UV rays and dust. I spray lightly, then buff with a clean microfiber cloth for that unmistakable mirror-like finish.
Step 9: Apply Tyre Shiner or Tyre Dressing
For a finishing flourish, I apply tyre shiner or tyre dressing to the rubber. This not only gives a deep black sheen but also conditions the rubber to resist drying and cracking. I use a sponge applicator and avoid excess — I want the tyres to gleam, not drip.
Step 10: Polish the Chrome Parts
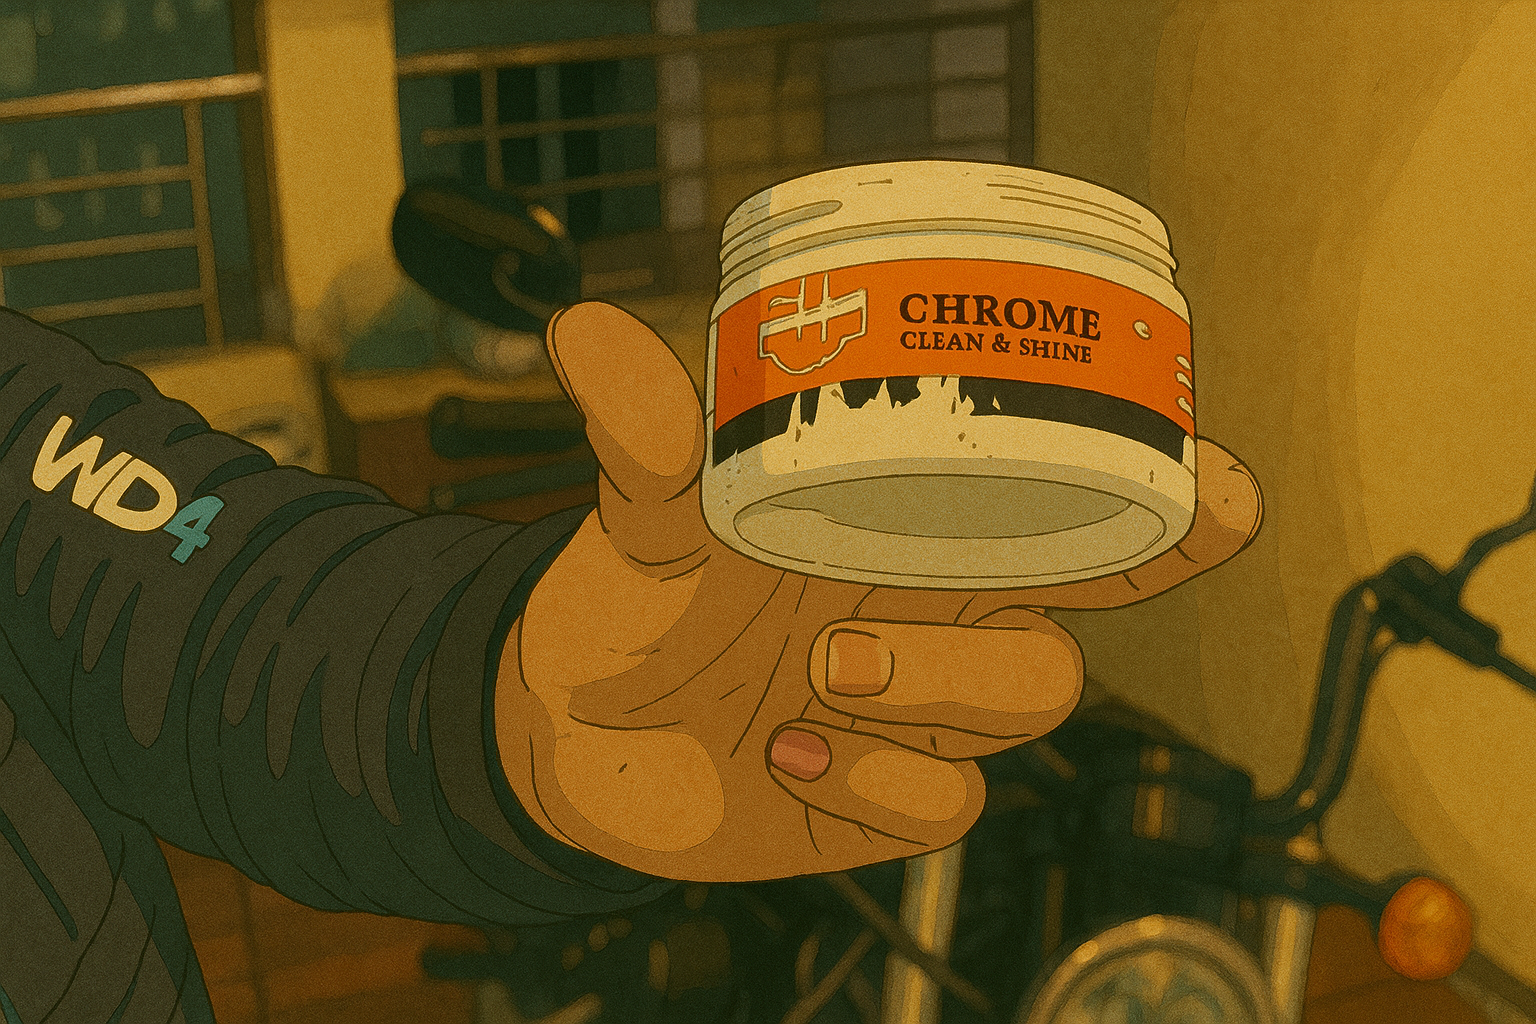
The final step in my motorcycle detailing routine is shining those chrome accents. I use chrome polish on the exhaust, handlebars, mirrors, and any metallic trim. I buff gently with a soft cloth until every chrome piece reflects light beautifully. This last step ties everything together, giving my motorcycle that premium, show-ready look.
Pro Tips for Motorcycle Cleaning:
- I always wash my motorcycle in the shade to avoid water spots.
- I use separate tools for tyres, paint, and engine areas.
- I avoid using household detergents; instead, I opt for automotive-grade shampoos.
- Regular detailing improves paint life and resale value.
Keep Your Motorcycle Looking and Performing Its Best
Detailing my motorcycle isn’t just about appearances — it’s about preserving performance and pride. Following this 10-step motorcycle cleaning guide ensures my bike stays in top shape while looking incredible. From the first foam wash to the final chrome polish, each step brings me closer to that freshly detailed glow.
So I grab my pressure washer, my Harley Davidson Detailer, and a bit of weekend time — because nothing beats the feeling of riding a motorcycle that shines as bright as the road ahead.
Frequently Asked Questions
Can I use a car shampoo for my motorcycle?
It’s best to use motorcycle-specific shampoo, as car shampoos may contain waxes or chemicals that can damage delicate bike paint and finishes.
How often should I clean my motorcycle?
Ideally, every 2–3 weeks, depending on my riding frequency and local weather conditions.
Is a pressure washer safe for motorcycles?
Yes, as long as I use moderate pressure and maintain distance from sensitive components like electrical connectors and bearings.
What’s the best way to dry a motorcycle after washing?
Using an air blower or microfiber towels helps prevent rust, water stains, and trapped moisture.